In 2023, the flexible packaging industry saw positive developments despite challenges for some firms. Sonoco achieved record profits, TC Transcontinental maintained stable revenues and increased earnings, and Winpak benefited from lower raw material prices, improving profit margins. The industry's consolidation trend was also evident in the Top 25 converters list for the year.
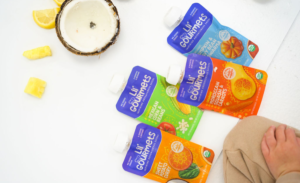
Every Lil’ Gourmets’ meal delivers a complete serving of vegetables, meeting 100% of a baby’s daily vegetable needs and 50% of a toddler’s, without any added sugar.
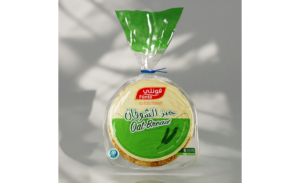
The bags are made by Napco National, a vertically integrated Saudi manufacturer of flexible film and packaging products, using two food-contact certified circular polyethylene resin grades (LLDPE) from SABIC’s TRUCIRCLE™ portfolio.
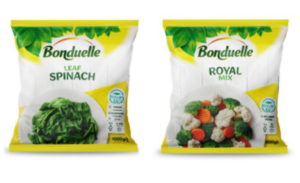
ExxonMobil, one of the largest PE resin suppliers, and Bonduelle Group collaborated with Constantia Drukpol, a leading polyethylene film converter, to design a new, easier-to-recycle packaging bag.
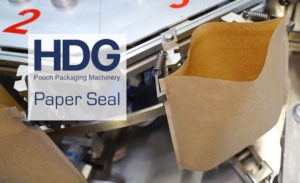
The patent-pending HDG Paper ‘Pressure Seal Module’ enables the production of 100% paper packaging without a heat-seal layer, significantly reducing material costs.
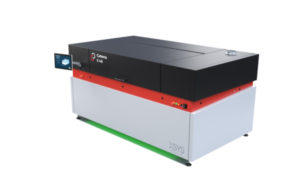
The installation of new, state-of-the art equipment – primarily in northeast Wisconsin over the next 18 months – will expand and optimize capacity while further increasing network reliability and responsiveness to serve customers in an essential market.
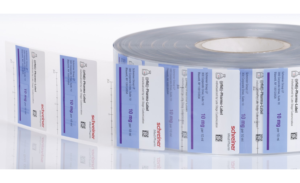
The new service offering enables the company’s smart labels to be supplied on short notice with order-specific programming for their integrated RFID chips.
Founded in 1981 in Mexico City, Etiflex is one of the leading converters in Mexico for variable information-printed labels, tickets, and RFID labeling.
Kenneth Fox’s journey to becoming a worldwide flexible packaging supplier started from very humble beginnings – as a burlap and mesh bag salesman for a company out of Kansas City, Missouri.